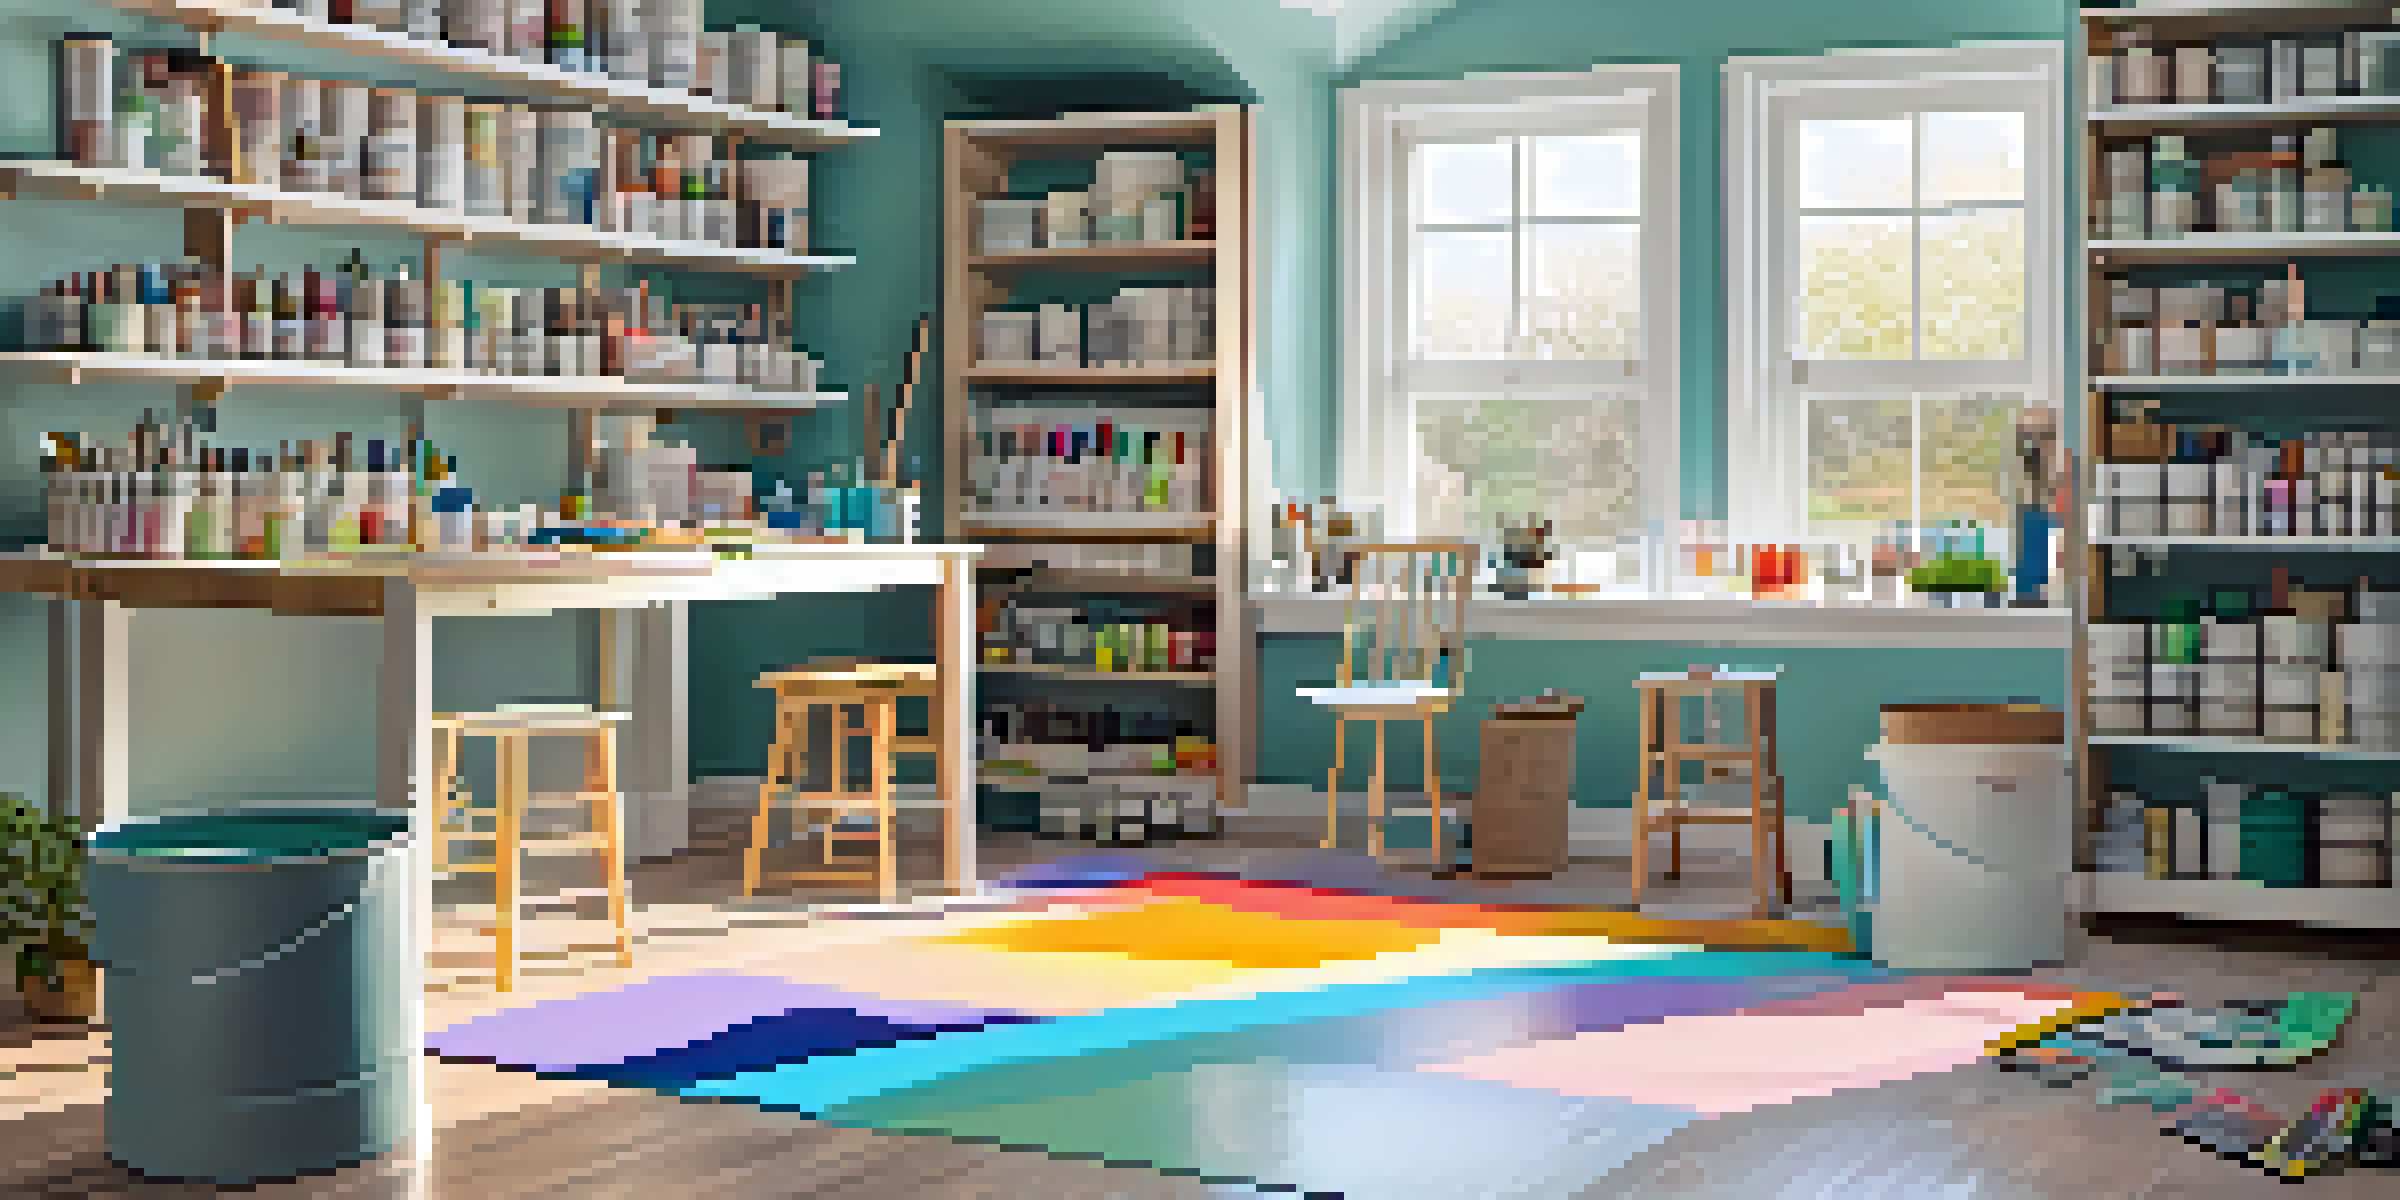
Breathe New Life: 6 DIY Painting Tips for Homeowners
Choose the Right Paint for Your Project
Selecting the right paint can make or break your DIY project. For interior walls, consider using latex paint because it’s easy to clean and dries quickly. If you're working on furniture or exterior surfaces, oil-based paint might be a better choice for its durability.
The best way to predict the future is to create it.
Don’t forget to choose the finish that suits your needs—matte for a cozy feel, satin for a subtle sheen, or gloss for high durability. Each finish has its pros and cons, so think about where you’ll be using it. For instance, kitchens and bathrooms benefit from glossier finishes due to their moisture resistance.
Lastly, consider eco-friendly options that have low or no volatile organic compounds (VOCs). These paints are not only better for the environment but also for your health, making your home a safer space.
Prep Your Space for a Flawless Finish
Preparation is key to a successful painting project. Start by moving furniture away from the walls and covering anything that you don’t want to get paint on. Drop cloths are your best friend here; they protect floors and surfaces from accidental splatters.
Next, clean the walls to remove dust, grease, or old paint chips. A simple mixture of water and mild detergent can do wonders. This step ensures that the new paint adheres properly, preventing peeling or uneven coverage.
Lastly, don’t skip on sanding any rough spots or filling in holes with spackle. A smooth surface will make your paint job look professional and polished, giving your home that fresh, rejuvenated look.
Invest in Quality Brushes and Rollers
Using quality tools can drastically improve the outcome of your paint job. Cheap brushes often leave streaks and bristles behind, which can be frustrating. Invest in a good-quality brush and roller suited for the type of paint you’re using.
The details are not the details. They make the design.
For larger areas, rollers can save you time and effort, while brushes are perfect for edges and trim. A good rule of thumb is to have a variety of sizes on hand. This way, you can tackle every nook and cranny without hassle.
Don’t forget to clean your brushes and rollers thoroughly after use. Proper maintenance extends their life and ensures that they perform well for your next painting project.
Master the Art of Taping and Edging
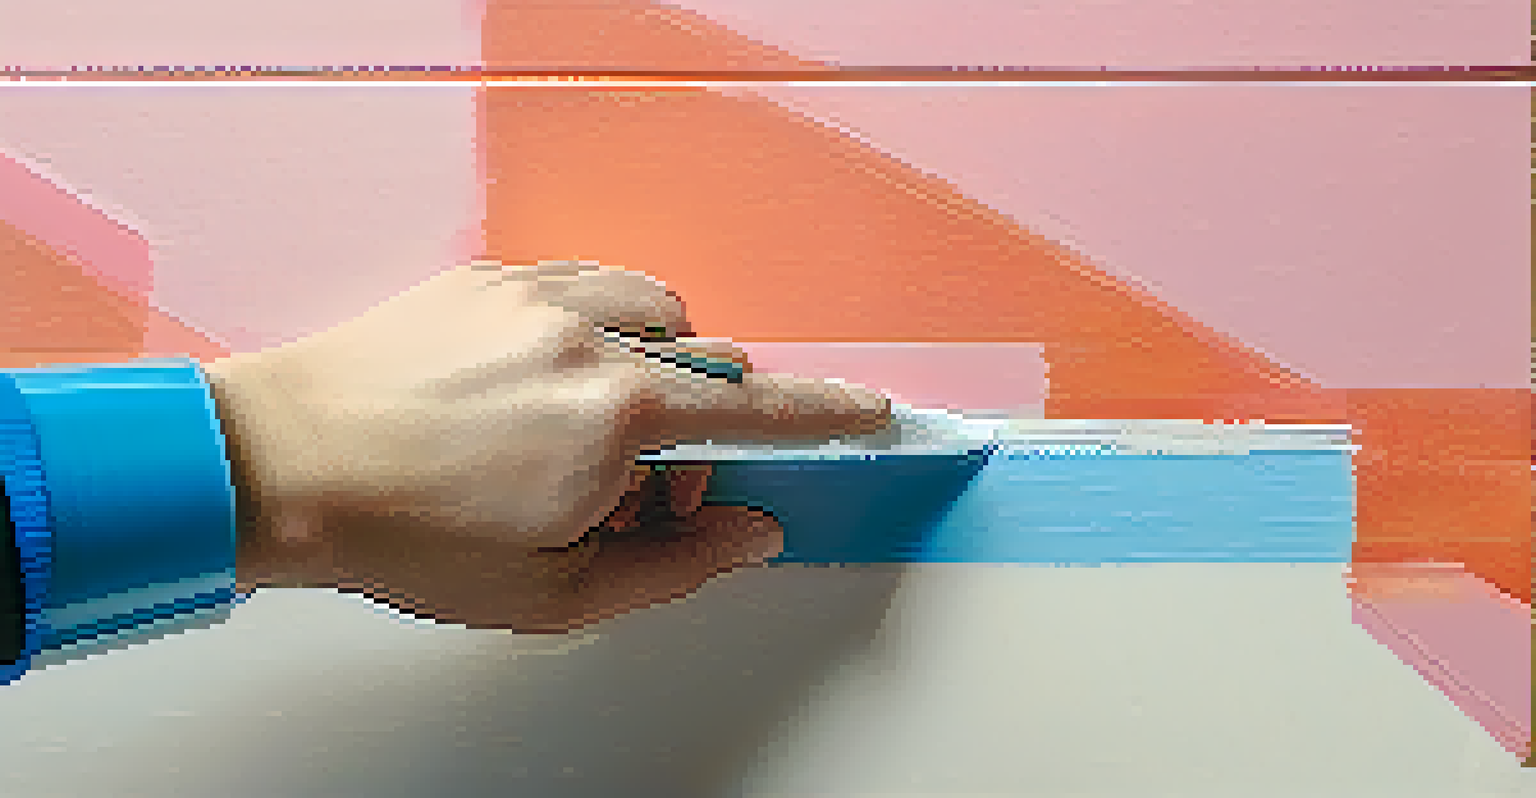
If you want clean lines and sharp edges, mastering the art of taping is essential. Use painter’s tape to mask off areas you don’t want to paint, such as trim, windows, and door frames. Take your time with this step; a little patience can go a long way.
When applying the tape, press it down firmly to avoid paint seeping underneath. You can also run a putty knife along the edge to ensure a tight seal. This extra step is worth it for those crisp lines that will make your room look professionally done.
Once you’ve finished painting, remove the tape while the paint is still slightly wet. This prevents peeling and ensures that the edges remain sharp and clean. It’s a simple trick that can elevate your DIY project!
Use Proper Techniques for a Smooth Application
Applying paint using the right technique is crucial for achieving a smooth finish. Start by cutting in around edges with a brush, then use a roller for larger areas. A 'W' or 'M' pattern helps distribute the paint evenly without leaving roller marks.
Don’t overload your roller with paint; too much can lead to drips and uneven coverage. Instead, dip the roller in the paint, roll it on the tray to remove excess, and then apply it to the wall. This technique will ensure a more controlled application.
Also, remember to paint in sections and maintain a wet edge to avoid lap marks. Working quickly while the paint is wet allows for seamless blending, giving your walls that smooth, professional look.
Know When to Apply a Second Coat
One of the common questions homeowners have is whether to apply a second coat of paint. In general, a second coat is necessary for achieving a richer and more even color, especially if you're making a drastic color change.
Before applying the second coat, check if the first coat is completely dry. Drying times can vary based on the type of paint used and the humidity levels in your home. As a rule of thumb, wait at least two to four hours before adding another layer.
Finally, be mindful of the finish you want. Some finishes, like matte, may require less paint than glossier options. A well-timed second coat can enhance the overall look of your space, making it feel fresh and new.
Finishing Touches: Clean Up and Enjoy
Once you’ve painted, it’s time for the finishing touches. Start by carefully cleaning your brushes, rollers, and any spills before they dry. This step can save you time and money, ensuring that your tools are ready for your next project.
Next, take a step back and admire your hard work. Adding accents like new hardware or decorative trim can elevate the newly painted space and tie everything together beautifully. Consider how lighting affects your colors and don’t hesitate to rearrange furniture for the best impact.
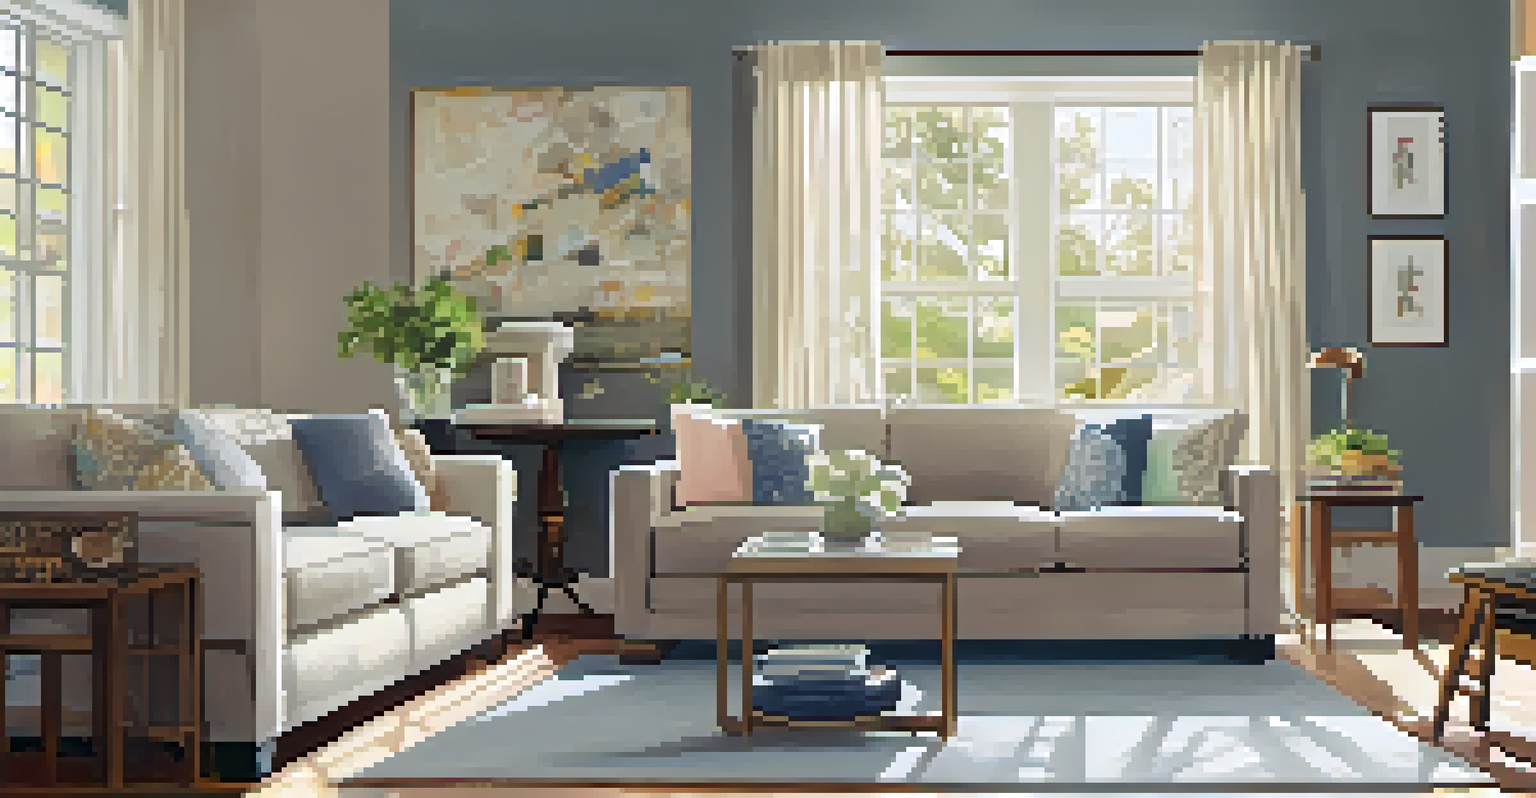
Finally, enjoy your refreshed space! Whether it’s a cozy corner of your living room or a bright, airy kitchen, take a moment to appreciate the transformation. You’ve successfully breathed new life into your home with just a little DIY effort.