Moldings and Trim: 7 DIY Projects for Elegant Finishing
Understanding Moldings and Trim: A Quick Overview
Moldings and trim are essential elements in home design, adding character and elegance. They can define spaces, create visual interest, and enhance the overall aesthetic of your rooms. From crown molding that graces the tops of walls to baseboards that provide a polished finish, these features are both functional and decorative.
Details create the big picture.
Think of moldings as the jewelry of your home; they frame and accentuate the beauty of your spaces. Whether you're renovating an older home or adding finishing touches to a new build, understanding the different types of moldings can help you make informed decisions. Each type offers a unique style and can transform a room's ambiance dramatically.
As we explore seven DIY projects, you'll see how accessible and rewarding it can be to incorporate moldings and trim into your home. With the right tools and a bit of creativity, you can elevate your interiors without breaking the bank.
Project 1: Crown Molding Installation for High Ceilings
Crown molding adds a touch of sophistication by bridging the gap between walls and ceilings. Installing crown molding can seem daunting, especially in rooms with high ceilings, but it’s a manageable DIY project with the right approach. Start by measuring the perimeter and cutting your molding at a 45-degree angle for clean joints.
Once you have your pieces ready, use a level and a stud finder to ensure perfect placement. Secure the molding with finishing nails, and don’t forget to fill any gaps with caulk for a seamless finish. Painting or staining the crown molding before installation can also save time and enhance the final look.
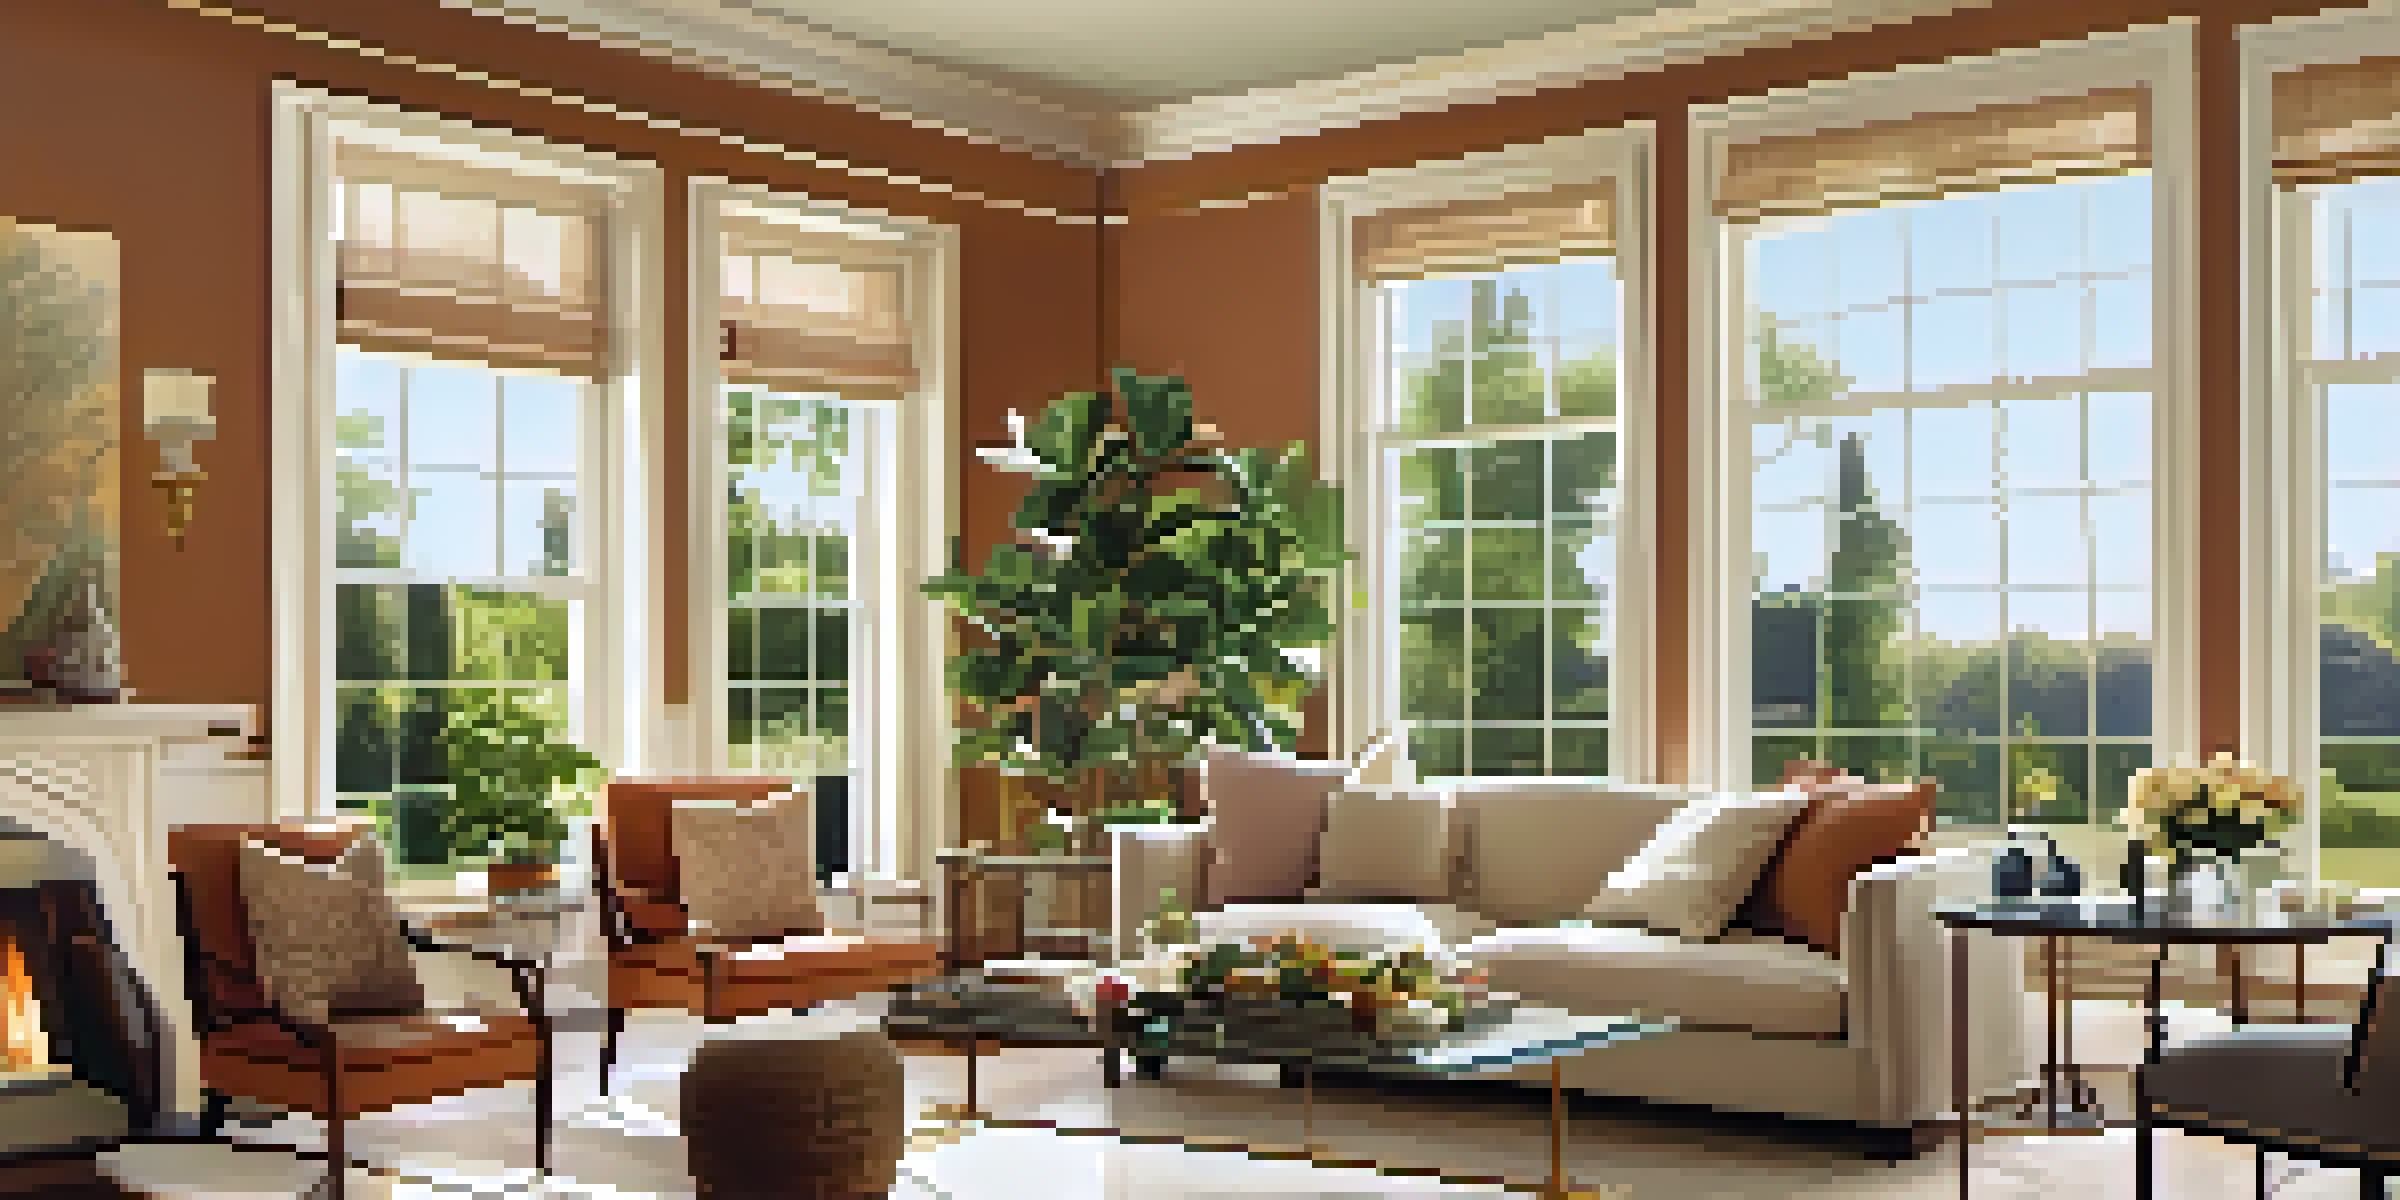
Moldings Add Character to Homes
Moldings and trim enhance the aesthetic of spaces, providing both functional and decorative benefits.
This project not only elevates the room’s design but also creates an illusion of height, making your space feel larger and more open. With a little patience and precision, you’ll create a stunning focal point that impresses guests and transforms your home.
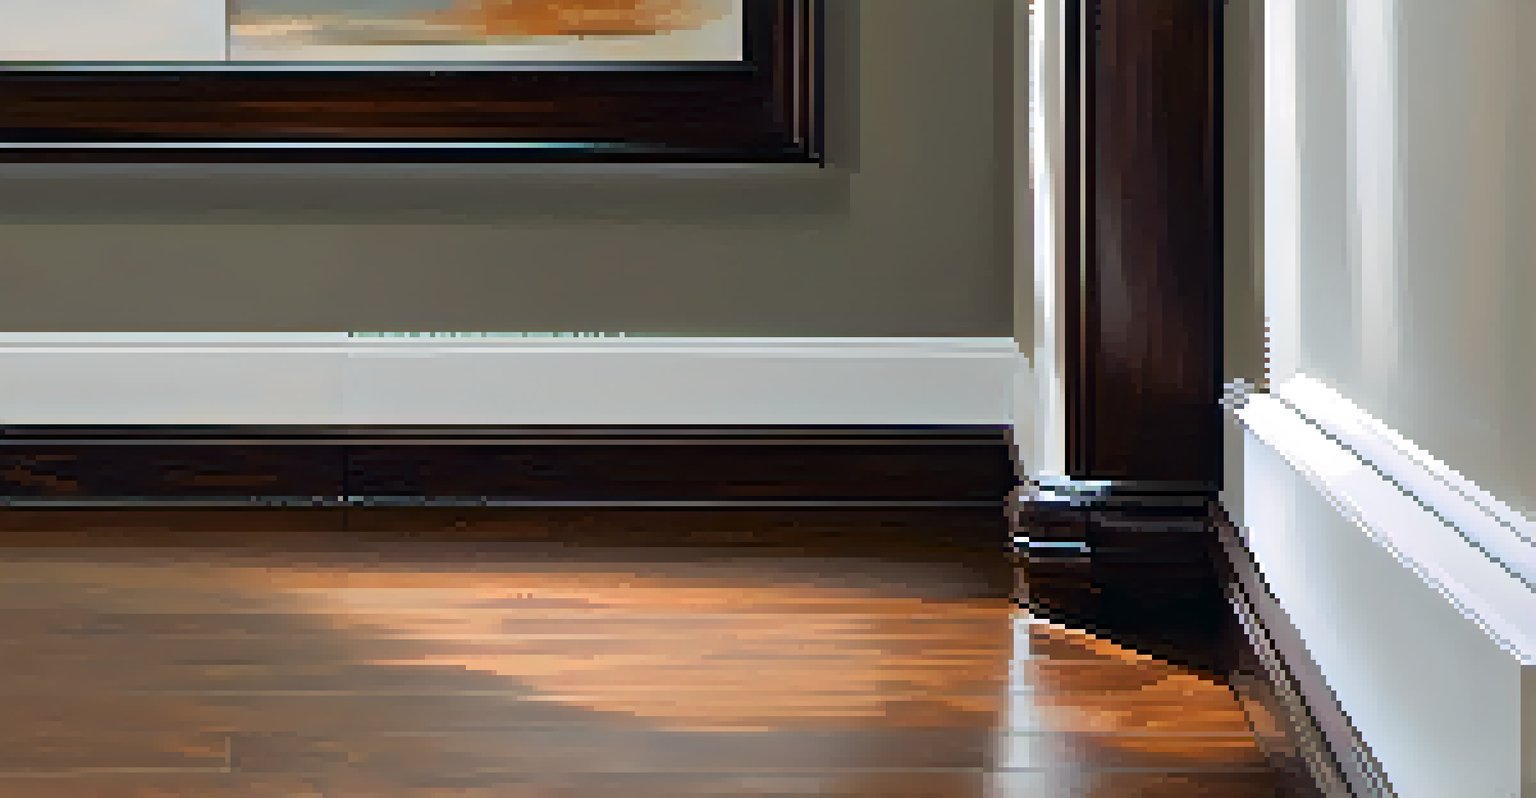
Project 2: Baseboards for a Clean, Finished Look
Installing new baseboards is a straightforward way to give any room a polished look. Baseboards serve to cover the joint between the wall and the floor, helping to protect walls from furniture and foot traffic wear. Choosing the right height and style can completely change the perception of your room.
Home is not a place, it's a feeling.
To start this project, remove old baseboards carefully to avoid damaging the walls. Measure and cut your new baseboards to fit, ensuring you account for corners and angles. Using adhesive and finishing nails, secure them in place, and finish with caulk for a clean edge.
Once painted or stained, new baseboards can dramatically improve your room's overall aesthetic. This simple upgrade can make even the most humble of spaces feel more refined, providing a foundation that other design elements can build upon.
Project 3: Chair Rail for Adding Dimension
Chair rails are a charming addition that can enhance the visual interest of any room. Typically installed at a height of about 30 inches, they serve both a functional and decorative purpose, protecting walls from chairs while adding depth to your design. Installing a chair rail can also allow for creative paint techniques below and above the rail.
Begin by measuring the desired height and marking it around the room. Cut your chair rail to fit and use a level to ensure it’s straight. Secure it with adhesive and finish with nails, then caulk any gaps for a polished appearance.
DIY Projects for Home Transformation
Engaging in DIY projects like crown molding or wainscoting can elevate your interiors without significant expense.
This project not only protects your walls but also creates a natural division for color or texture changes, making your space feel more dynamic. The chair rail can serve as a perfect canvas for creativity, whether you opt for bold colors or intricate patterns.
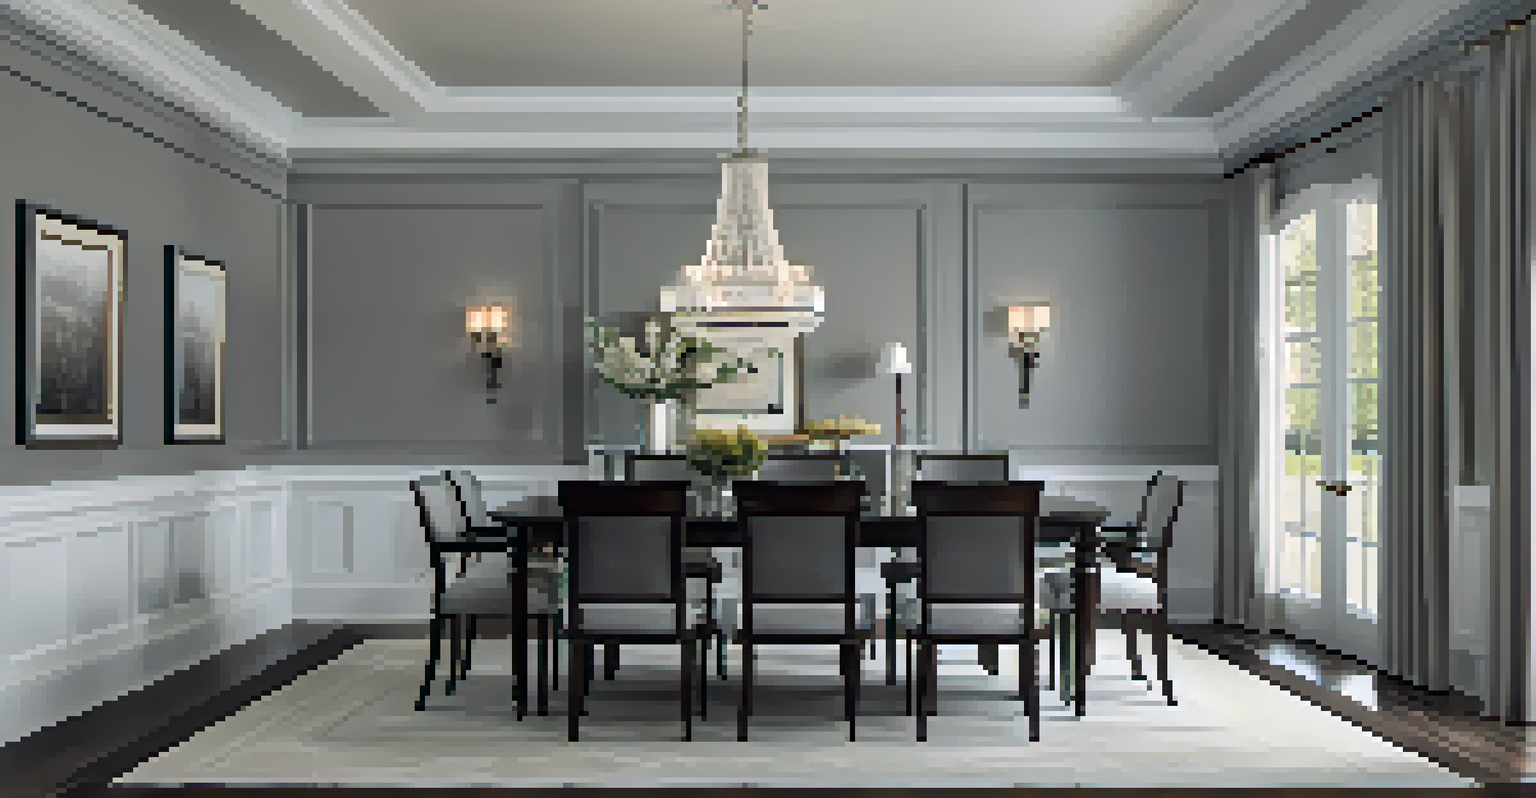
Project 4: Wainscoting for Added Elegance
Wainscoting brings timeless elegance to any room, combining functionality with style. This paneling can be installed halfway up the wall and is perfect for dining rooms, hallways, or any space that could use a touch of sophistication. Wainscoting can also help to protect your walls while enhancing the design.
To create wainscoting, start by measuring your wall and determining how high you want the panels to go. Cut your panels and attach them using adhesive and nails, ensuring everything is aligned and level. Finish with paint or stain to match or contrast with your wall color.
This project can dramatically change the look of a room, adding warmth and texture. The rich detail of wainscoting can turn a simple space into a luxurious retreat, all while being a fun DIY challenge.
Project 5: Picture Frames with Beadboard for Unique Accents
Using beadboard to create picture frames is a creative way to incorporate trim into your decor. This project is perfect for showcasing your favorite photos or artwork while adding a bit of texture and charm to your walls. The versatility of beadboard allows it to fit seamlessly in both modern and traditional homes.
Start by measuring and cutting beadboard pieces to create frame shapes around your pictures. Secure them with adhesive or small nails, then paint them to match or complement your wall color. You can even add decorative corners for an extra touch of flair.
Versatile Trim for Creative Designs
Incorporating trim elements like chair rails and custom shelving allows homeowners to express their personal style.
This project not only highlights your cherished memories but also serves as a beautiful statement piece in your home. With beadboard, you can create a gallery wall that reflects your personal style while elevating the overall decor.
Project 6: Decorative Ceiling Medallions
Ceiling medallions can add a stunning focal point to any room, especially when paired with a chandelier or pendant light. These decorative elements are not only eye-catching but can also highlight architectural details in your home. Installing a ceiling medallion is simpler than it might seem, making it a perfect DIY project.
Begin by choosing a medallion that complements your decor style. Use adhesive to attach it to the ceiling, ensuring it’s centered around your light fixture. Once secure, you can paint it to match your ceiling or contrast with it for a bold effect.
This small addition can transform a simple light fixture into a luxurious centerpiece, creating a sense of grandeur in your space. Whether in a dining room or a foyer, ceiling medallions can elevate your home’s design effortlessly.
Project 7: Custom Shelving with Trim for Style and Function
Creating custom shelving with trim is a fantastic way to blend style with storage. Not only can you showcase your favorite books and decor, but you can also tailor the design to fit your unique space. Adding trim can elevate simple shelves into a statement piece that enhances your room’s functionality.
Start by building your shelves and measuring where you want to add trim. Cut and attach the trim around the edges of the shelves for a finished look, using adhesive and nails for stability. Paint or stain the shelves to match your decor, creating a cohesive appearance.
This project allows for endless creativity; you can customize the size, shape, and style of your shelves. With the addition of trim, your shelves will not only be practical but also a beautiful enhancement to your home.