The Best Lighting Techniques for Interior Photography
Understanding the Importance of Lighting in Interior Photography
Lighting is the heart and soul of interior photography. It can transform a simple room into a stunning visual story, highlighting textures and colors. Without proper lighting, even the most beautifully designed spaces can appear dull and lifeless, failing to capture the viewer's attention.
Lighting is the first step to great photography; it can transform a simple scene into a masterpiece.
Think of lighting as the mood setter; just like music can evoke emotions, the right light can create a warm, inviting atmosphere or a cool, contemporary vibe. The goal is to make potential buyers or viewers feel connected to the space, and lighting plays a crucial role in that connection.
By understanding how different lighting techniques work, photographers can enhance their skills and create images that resonate with their audience. This understanding will not only improve individual shots but also elevate the overall quality of the portfolio.
Natural Light: Your Best Friend in Interior Photography
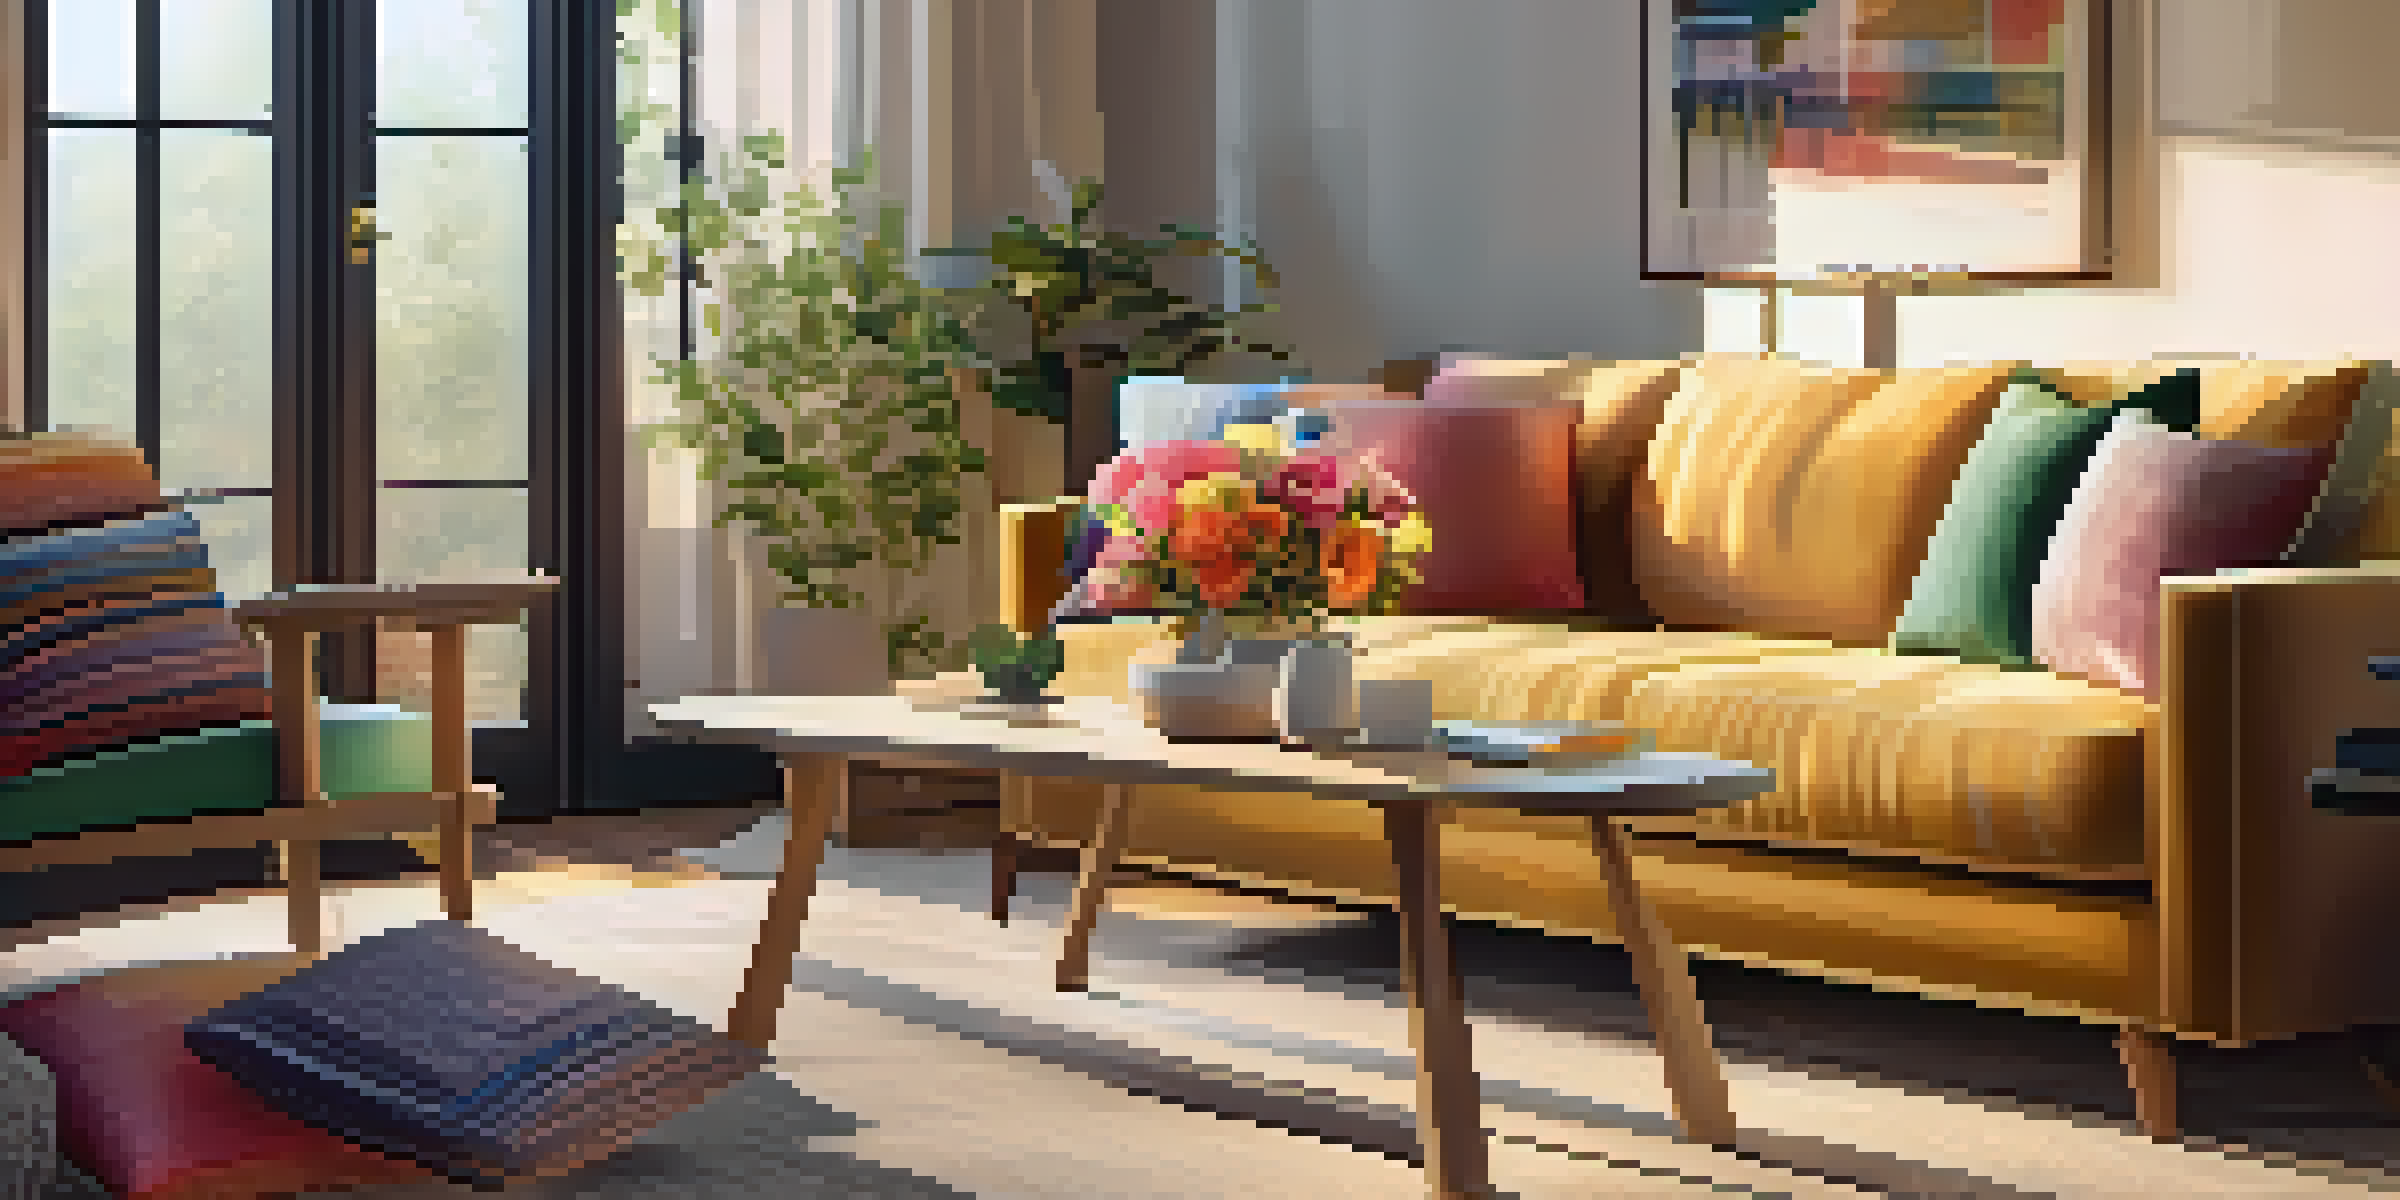
Natural light is often the most flattering option for interior photography. It brings out the true colors of the space, creating a soft and inviting ambiance. When capturing a room, the best times to shoot are during the golden hours—early mornings and late afternoons—when the light is warm and diffused.
To make the most of natural light, it’s essential to position yourself strategically. Consider the direction of the light and how it interacts with the furniture and decor. Open curtains and blinds to let the light flood in, and if you're shooting in a dimly lit room, try to adjust your angles to maximize light exposure.
Lighting Transforms Spaces
Proper lighting can elevate interior photography by highlighting colors and textures, making spaces feel inviting and dynamic.
However, be mindful of harsh shadows that can detract from your images. Using reflectors or white surfaces can help bounce light and soften those shadows, ensuring that every corner of the room is beautifully illuminated.
Using Artificial Lighting to Enhance Interior Shots
While natural light is fantastic, sometimes you need to supplement it with artificial lighting. This can be especially helpful in dimly lit spaces or during nighttime shoots. Using a combination of softboxes, LED panels, or even simple lamps can help achieve the desired effect.
The best lighting for photography is the one that paints the subject in the best way, making it come alive.
The key is to mimic natural light as closely as possible. Choose bulbs that are warm in tone to create a cozy atmosphere, and avoid overly harsh, bright lights that can wash out the details. Experimenting with different light sources can yield unique results that enhance the character of the room.
Don't forget to balance the color temperature of your lights. Mixing different types of light sources can create a color cast that distracts from the overall image. Stick to a consistent warm tone for a harmonious look across your photos.
Mastering the Art of Composition with Lighting
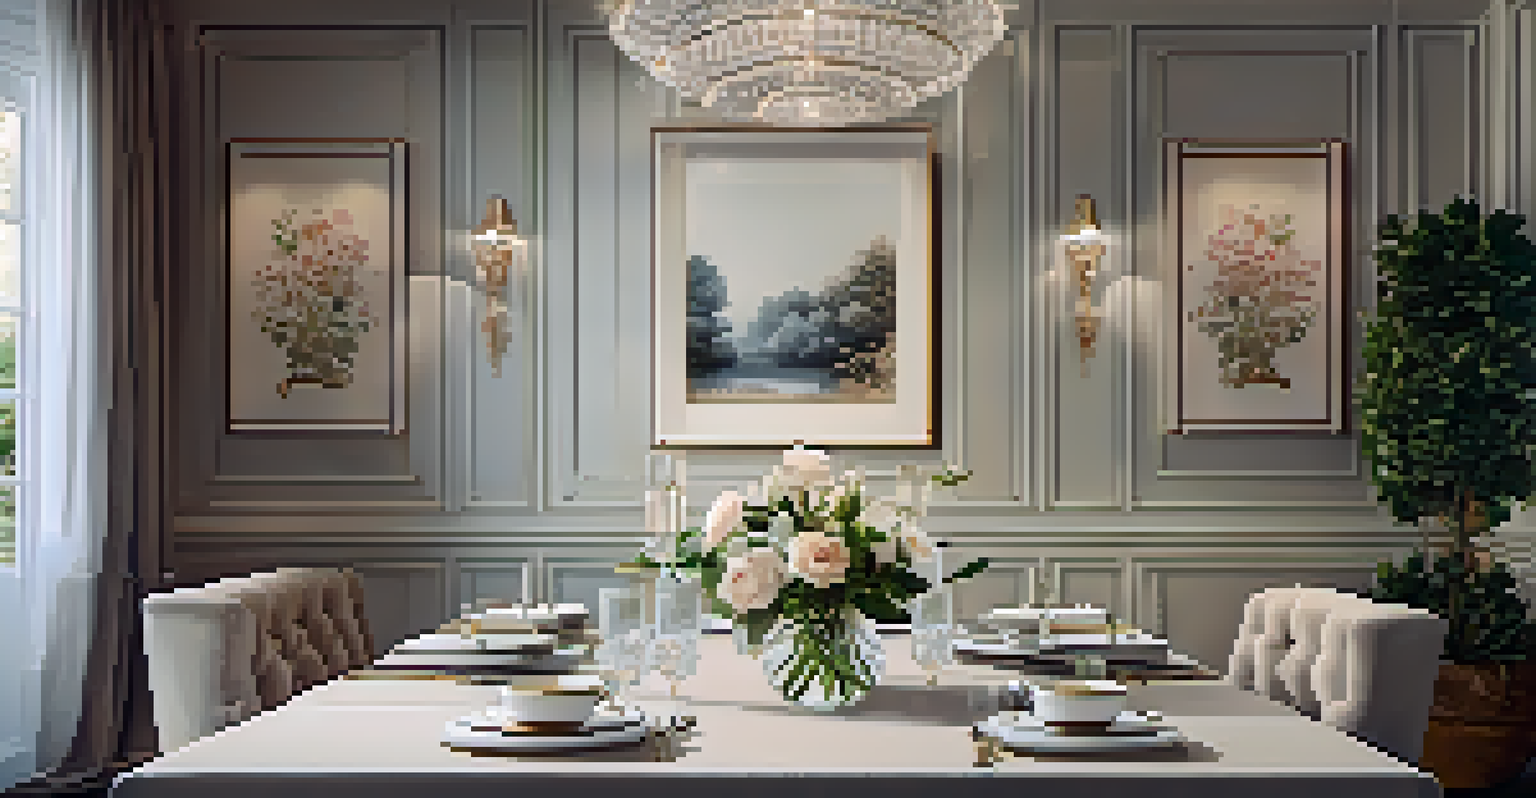
Lighting and composition go hand in hand in interior photography. The way you frame a room can either enhance or diminish the quality of light in your shot. Start by identifying your focal points—such as a beautifully styled table or a cozy reading nook—and compose your shot around these elements to draw the viewer's eye.
Consider the rule of thirds when composing your images. By positioning key elements along the grid lines, you can create a balanced composition that feels natural and engaging. This technique can help you use light to highlight specific areas of the room.
Natural vs. Artificial Lighting
Natural light is often the most flattering for interiors, but understanding how to effectively use artificial lighting can enhance images in dim conditions.
Additionally, leading lines can be powerful tools. Use the natural lines of furniture, walls, or flooring to guide the viewer’s gaze through the image, while also showcasing how light interacts with different textures and surfaces.
Using Shadows to Add Depth and Interest
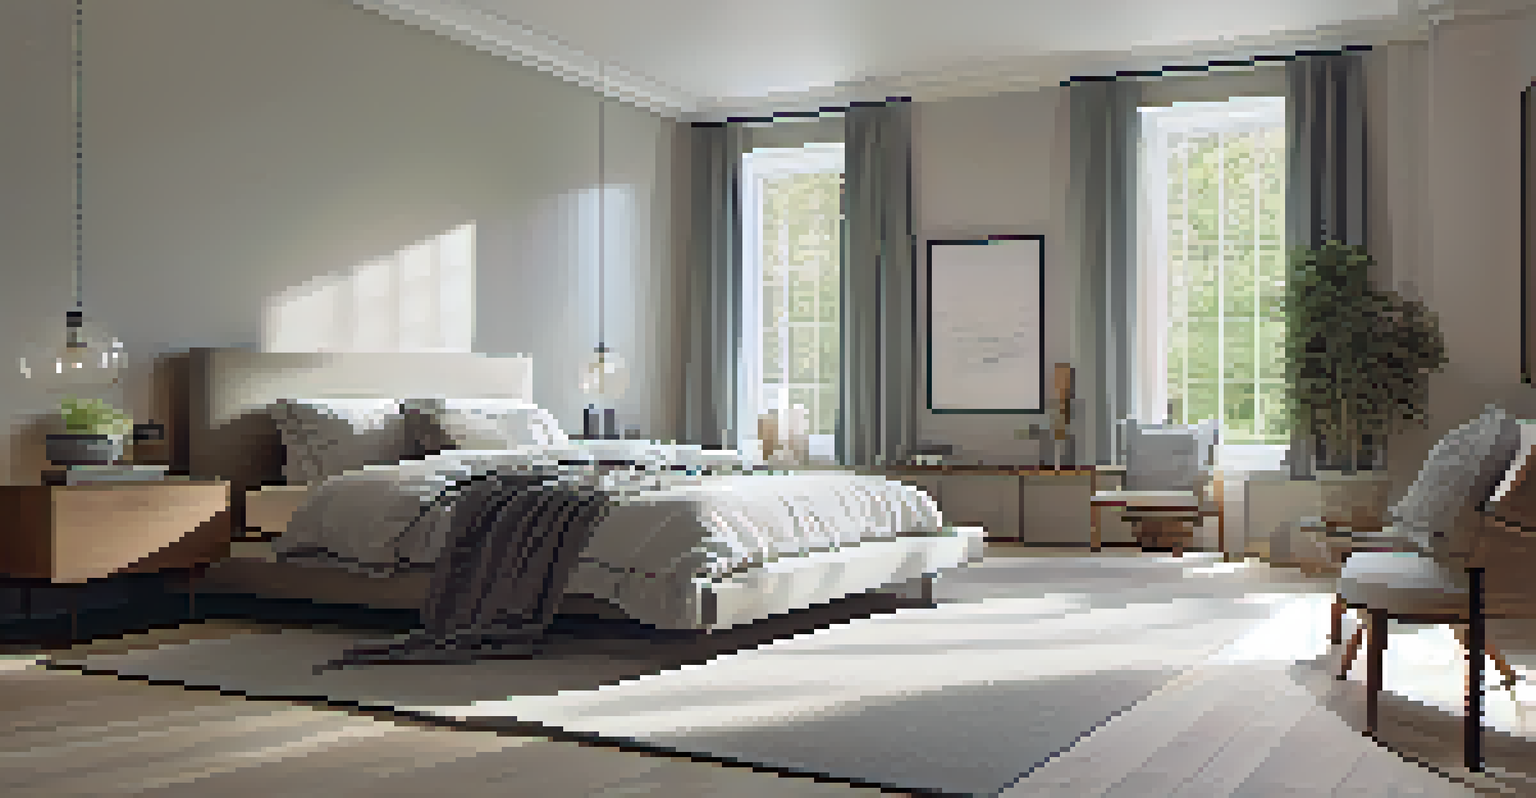
Shadows often get a bad rap in photography, but they can actually add depth and interest to your images. Instead of avoiding shadows, learn how to use them creatively to enhance your shots. Soft shadows can create a sense of dimension, making the space feel more dynamic and inviting.
Try to position your light sources in such a way that they create interesting patterns on the walls or floors. This can add visual intrigue and help to convey a sense of the space's scale. For example, shadows cast by window frames can create beautiful patterns that enhance the overall composition.
Remember, the goal is to strike a balance. While shadows can add depth, too much darkness can overwhelm the image. A well-lit space with carefully managed shadows can create stunning, multidimensional photographs.
Post-Processing Lighting Techniques to Enhance Images
Once you've captured your images, don’t forget the power of post-processing in enhancing your lighting. Software like Adobe Lightroom and Photoshop offers tools to adjust exposure, contrast, and brightness, allowing you to refine the lighting in your images further.
You can also use these editing tools to correct any color casts that may have occurred during shooting. Adjusting the white balance can help bring back the natural tones of the space, ensuring that your images remain true to life.
Composition and Shadows Matter
Mastering composition with light and creatively using shadows can add depth and interest, resulting in captivating interior photographs.
However, moderation is key. Over-editing can lead to unnatural results, so aim for a polished look while still maintaining the integrity of the original lighting.
Experimenting with Different Lighting Techniques
Photography is all about experimentation, and lighting techniques are no exception. Don’t be afraid to try different approaches to see what works best for the space you’re capturing. Play with various light sources, angles, and compositions to discover your unique style.
For example, consider using long exposures to create a sense of movement in the light, or experiment with backlighting for a dramatic effect. Each technique can yield different results, and the more you experiment, the better you’ll understand how light interacts with your environment.
Documenting your process can also provide valuable insights. Keep a journal of what works and what doesn’t, along with the settings you used. This can help you refine your approach and develop a consistent style that sets your work apart.