How to Prepare Your Home for a Radon Gas Inspection

Understanding Radon Gas and Its Risks
Radon gas is a colorless, odorless radioactive gas that can seep into homes from the ground. It originates from the natural breakdown of uranium in soil and rock. While you can't see or smell it, exposure to high levels of radon over time can lead to serious health issues, including lung cancer.
The best way to predict the future is to create it.
Many homeowners are unaware of the presence of radon gas in their homes, making it essential to understand its risks. The Environmental Protection Agency (EPA) states that radon is the second leading cause of lung cancer in the U.S. after smoking. This alarming statistic highlights the importance of getting your home tested and prepared for inspection.
By being proactive about radon testing, you can help protect your family from potential health hazards. Understanding these risks is the first step toward ensuring a safe living environment. So, let’s dive into how you can prepare your home for a radon gas inspection.
Scheduling Your Radon Gas Inspection
The first step in preparing for a radon inspection is to schedule the test. It's best to hire a certified radon professional who can conduct a thorough assessment of your home. Look for professionals who are listed on the EPA’s website or other reliable sources to ensure credibility.
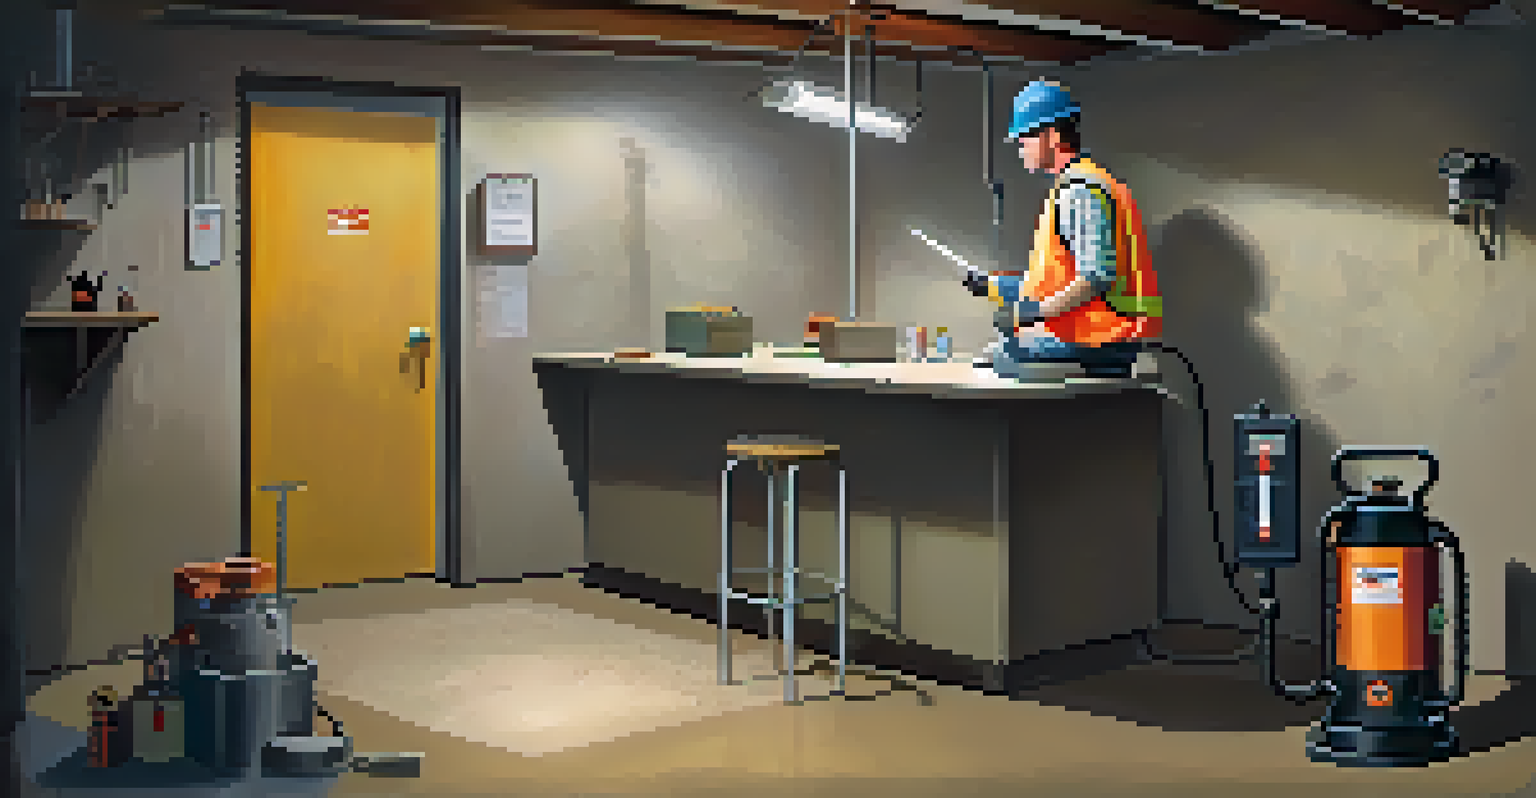
When scheduling, consider the timing of the inspection. For the most accurate results, the EPA recommends conducting radon tests during colder months when homes are typically closed up. This allows radon levels to build up, providing a clearer picture of potential risks.
Radon is a Hidden Health Risk
Radon gas is a colorless, odorless gas that poses serious health risks, including lung cancer, making awareness and testing essential.
Once you have a date set, make sure to inform all household members about the inspection. This way, everyone is aware and can assist in the preparation process, making the experience smoother and more efficient.
Clearing the Inspection Area
Before the inspection, it's crucial to clear the area where the radon test will be conducted. Typically, this will be in the lowest level of your home, such as a basement or crawl space. Remove any furniture, clutter, or items that may obstruct the testing equipment.
An ounce of prevention is worth a pound of cure.
A clean and unobstructed area allows the radon testing device to function correctly, ensuring accurate readings. This step also includes ensuring that windows and doors in the vicinity of the testing area are sealed, as outside air can interfere with the results.
Taking the time to declutter and prepare the area not only helps with the inspection but also sets a positive tone for any necessary follow-up actions. A clear space allows for better focus on the task at hand, making it easier for everyone involved.
Adjusting Your Home's Ventilation
Proper ventilation is key when preparing for a radon gas inspection. It's important to maintain a consistent indoor environment, which means keeping windows and doors closed for at least 12 hours before the test. This helps ensure that external air doesn’t dilute radon levels.
However, if your home has an existing radon mitigation system, consult your radon professional for specific instructions on how to operate it prior to the test. They may recommend running fans or systems to ensure the best results.
Prepare for Radon Testing
Clearing the inspection area and maintaining proper ventilation are crucial steps to ensure accurate radon test results.
By controlling your home’s ventilation, you contribute to a more accurate assessment of radon levels. This allows for informed decisions about potential mitigation measures if needed, making your home safer for you and your family.
Checking for Home Modifications
If you've recently made any changes to your home, such as renovations or additions, it's essential to inform your radon professional. These modifications could impact radon levels and testing results. Be open about any changes to ensure an accurate assessment.
For example, if you've sealed off a basement or added new windows, these adjustments might affect how radon enters your home. Your radon professional can provide guidance on how these changes may influence the inspection process.
Being transparent about home modifications not only helps with the current inspection but also sets a foundation for understanding future radon risks. Remember, knowledge is power when it comes to maintaining a healthy home environment.
Reviewing Your Home’s Foundation and Structure
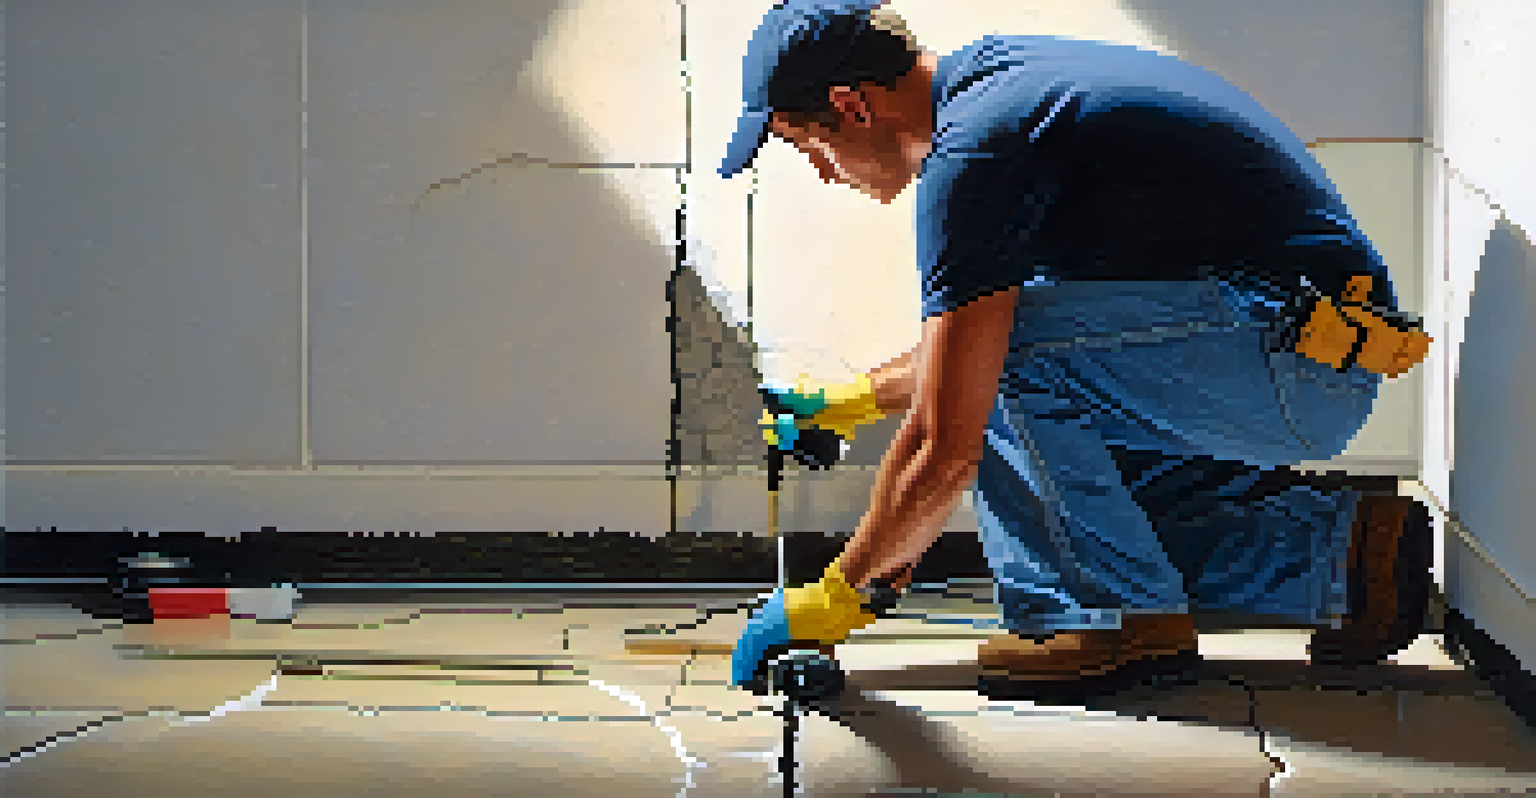
Before the inspection, take a moment to review your home's foundation and structure for any cracks or openings. Radon can easily seep through these gaps, increasing the levels in your home. Sealing these cracks can not only help during the inspection but also improve your home's energy efficiency.
Common areas to check include basement walls, sump pits, and around pipes or cables entering your home. Even small openings can let radon in, so it’s worth the effort to inspect and seal them. Consider using caulk or concrete sealant for this task.
Follow-Up Actions Are Key
Being informed about potential mitigation options after testing can help you effectively reduce radon levels in your home.
By addressing these structural issues ahead of the inspection, you not only enhance the accuracy of the test but also ensure a safer living space for your family. A little preparation can go a long way in protecting your home.
Understanding the Testing Process
Familiarizing yourself with the radon testing process can alleviate any concerns you may have. There are two primary types of tests: short-term and long-term. Short-term tests usually last from two to seven days, while long-term tests can take several months for a more comprehensive evaluation.
During the test, the radon measurement device will record levels of radon in your home. It's important to avoid interference with the testing equipment. This means not moving the device, opening windows, or using exhaust fans in the area where the test is being conducted.
Understanding how the testing works helps you feel more at ease and can lead to a more successful inspection outcome. Plus, being informed empowers you to take appropriate actions based on the results.
Preparing for Follow-Up Actions
After the radon inspection, it's essential to be prepared for potential follow-up actions based on the results. If radon levels are found to be high, you'll need to consider mitigation options to reduce those levels. This could include installing a radon mitigation system or sealing additional entry points.
Educate yourself on the various mitigation methods available. Understanding how each option works can help you make informed decisions about what’s best for your home and family. Consulting with your radon professional about the most effective solutions is also a wise step.
Being prepared for follow-up actions ensures that you can take the necessary steps quickly, keeping your home safe and healthy. Remember, addressing radon risks is an ongoing process, and staying informed is key.