How to Conduct a DIY Home Inspection Before Renovation
Understanding the Importance of a Home Inspection
Before diving into renovations, it's crucial to understand why a home inspection matters. A well-conducted inspection can uncover hidden issues that could derail your plans or blow your budget. Think of it as the health check-up for your home; you want to know what’s going on beneath the surface before making any changes.
An ounce of prevention is worth a pound of cure.
By identifying potential problems early, you can prioritize repairs that need immediate attention. For example, if you find signs of water damage, addressing that before new flooring goes in can save you time, money, and unnecessary headaches down the line. This proactive approach not only protects your investment but also enhances the overall safety and comfort of your living space.
Ultimately, a thorough inspection sets the stage for a successful renovation. It allows you to make informed decisions and ensures that your home is ready for the transformation you envision.
Gathering Your Inspection Tools and Supplies
Before you begin your DIY inspection, it’s essential to gather the right tools. A flashlight is a must-have for inspecting dark areas like basements and attics. Additionally, a moisture meter can help you detect hidden dampness in walls, while a ladder is necessary for checking roofing and high spots safely.
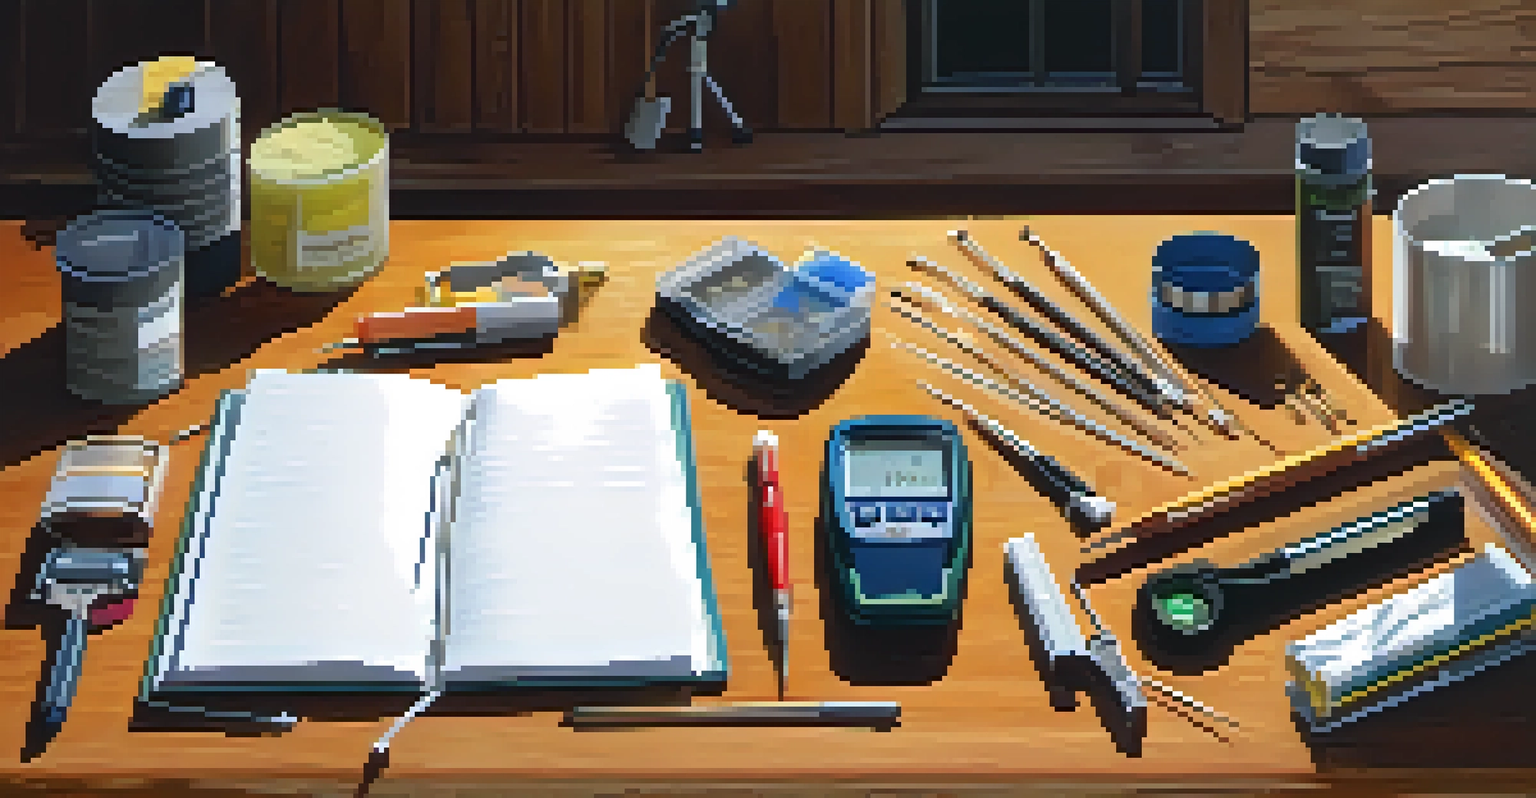
Don’t forget your notebook! Documenting your findings will help you stay organized and focused as you assess each area of your home. You can also take pictures for further reference, especially if you plan to consult with professionals later on. This visual record can serve as a valuable resource when discussing repairs or renovations.
Home Inspections Ensure Safety
Conducting a thorough home inspection helps uncover hidden issues that could affect safety and budget during renovations.
Having the right tools not only makes your inspection easier but also more effective. With everything you need at hand, you'll feel more confident and prepared to tackle the task ahead.
Inspecting the Exterior: What to Look For
Start your inspection outside. The exterior of your home is the first line of defense against the elements, so it deserves thorough attention. Look for cracks in the foundation, peeling paint, and any signs of water pooling around the base of the house, as these can indicate drainage issues.
The best way to predict the future is to create it.
Pay close attention to the roof, gutters, and siding. Missing shingles or clogged gutters can lead to significant water damage over time. Using binoculars can help you spot these issues from the ground without putting yourself in risky positions.
Regularly inspecting the exterior can prevent small issues from turning into major repairs. By staying proactive, you can ensure that the outside of your home remains in good condition, setting a solid foundation for the renovations to come.
Assessing the Interior: Key Areas to Check
Once you've covered the exterior, it's time to move indoors. Begin in the basement or crawl space, where mold and moisture often lurk. Check for any signs of water intrusion, such as stains on the walls or a musty smell, which can indicate a more serious underlying issue.
Next, inspect the walls and ceilings for cracks or bulges. These could be signs of structural problems or settling that may need addressing before you start any renovation work. Don’t forget to check windows and doors for drafts, as this can affect your home’s energy efficiency.
Document Findings for Clarity
Keeping a detailed record of your inspection results allows for better planning and prioritization of repairs and upgrades.
Taking the time to carefully assess your interior spaces can help you identify areas that may require repairs or upgrades. This way, you can prioritize your renovation plans based on what will enhance both functionality and aesthetics.
Checking Plumbing and Electrical Systems
Plumbing and electrical systems are critical components of any home, and inspecting them should not be overlooked. Start with the plumbing: check for leaks under sinks and around toilets, as even small drips can lead to significant water damage over time. Make sure to test the water pressure and assess the age and condition of your pipes.
Next, turn your attention to the electrical systems. Look for exposed wires, flickering lights, or circuit breakers that trip frequently. These can signal potential hazards that may need professional evaluation. Remember, safety should always come first, and it’s worth calling in an electrician if you spot anything concerning.
By proactively checking these systems, you can avoid costly repairs in the future and ensure that your home is safe and up to code before renovations begin.
Documenting Your Findings for Future Reference
As you conduct your inspection, documentation is key. Write down all your findings, whether they are minor cosmetic issues or significant repairs needed. This record will not only help you track what needs to be addressed but will also be invaluable when planning your renovation budget.
Consider creating a checklist that outlines each area of your home, along with specific notes on what you found. This organized approach will make it easier to prioritize tasks and communicate with contractors if you decide to hire help later on.
Plan Renovations Wisely
Using inspection results to create a prioritized list ensures that critical repairs are addressed before aesthetic improvements.
Having detailed documentation allows you to approach your renovation with clarity and confidence. You'll be better prepared to tackle repairs and upgrades, ensuring a smoother renovation process overall.
Planning Your Renovation Based on Inspection Results
With your inspection complete and findings documented, it's time to plan your renovation. Use the issues you've identified to create a prioritized list of repairs and upgrades. Starting with critical structural issues ensures that your home remains safe and sound as you enhance its aesthetic appeal.
Consider consulting with professionals for significant repairs that may be outside your expertise. Their insights can help you understand the best solutions for issues like electrical upgrades or plumbing overhauls, making your renovation process more efficient.

Remember, a well-thought-out plan based on your inspection results can save you time and money in the long run. You'll be equipped to make informed decisions that align with your vision for your home.
Final Tips for a Smooth DIY Home Inspection
To wrap up your DIY home inspection, here are a few final tips. First, don’t rush the process; take your time to thoroughly check each area of your home. It might be tempting to skip sections, but a comprehensive inspection will provide the most accurate picture of your home’s condition.
Also, consider doing your inspection during the day when natural light can illuminate dark corners and make spotting issues easier. If possible, enlist a friend to help you; having an extra set of eyes can be invaluable in catching things you might miss.
Lastly, approach the inspection with a positive mindset. While finding issues may seem daunting, remember that addressing these problems now will lead to a safer, more comfortable home in the future. Happy inspecting!